NST 20 Hard Disk Installation: Difference between revisions
| Line 1: | Line 1: | ||
= Starting Hard Disk Installation = | = Starting Hard Disk Installation = | ||
There are several ways to install the Network Security Toolkit (NST) distribution to the hard disk from a ''live boot''. | [[File:Thunderbolt.png|frame|left|'''[[Feature Release Symbol | <center>NST 20</center>]]''']] There are several ways to install the Network Security Toolkit (NST) distribution to the hard disk from a ''live boot''. This page provides the basic information to get you started with the installation of release 20 of the NST. | ||
== From the Boot Screen == | == From the Boot Screen == | ||
Revision as of 17:32, 3 February 2014
Starting Hard Disk Installation

There are several ways to install the Network Security Toolkit (NST) distribution to the hard disk from a live boot. This page provides the basic information to get you started with the installation of release 20 of the NST.
From the Boot Screen
One of the simplest mechanisms is to simply boot from your NST live media (DVD, USB, or ISO image) and select the Hard Disk Install option from the boot screen.
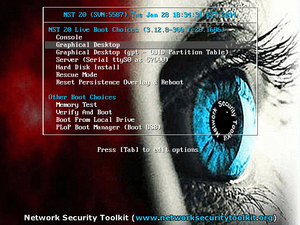
After selecting the Hard Disk Install option from the boot screen, it will take a few moments for the installation program to come up. Eventually the installation program will start and you will see the screen shown in the #Hard Disk Installation section on this page.
From the Graphical Desktop
Another option is to boot in Graphical Desktop mode and then double click on the Install NST To Hard Drive icon as seen in the image below.
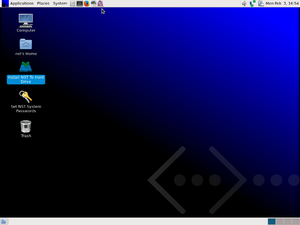
It will take a few moments for the installation program to come up. Eventually the installation program will start and you will see the screen shown in the #Hard Disk Installation section on this page.
From the Command Line
Finally, you can start the graphical installer by running the nstliveinst script from the command line. You can run this command without any command line options as shown below:
nstliveinst
It will take a few moments for the installation program to come up. Eventually the installation program will start and you will see the screen shown in the #Hard Disk Installation section on this page.
The nstliveinst program has many options and modes of installation. You are strongly encouraged to read the nstliveinst man page for all of the features (in particular when you can't run the standard GUI installer).
Hard Disk Installation
Main Screen
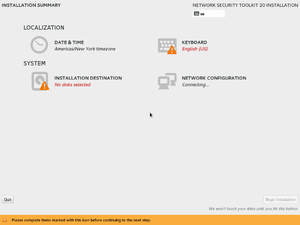
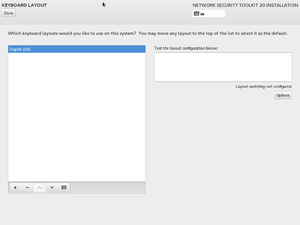
Set Keyboard
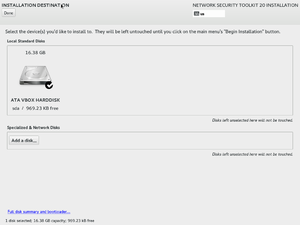
Select Disk(s)
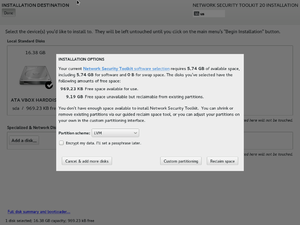
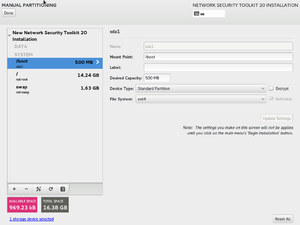
Format Disk(s)
Begin Installation
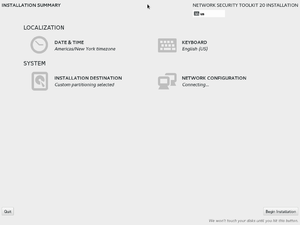
After setting all of the required options, you should see a Begin Installation button appear at the bottom right of the screen. Press this button to begin the installation.
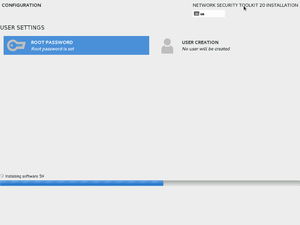
Once you begin the installation, you will see a progress bar indicating the the hard disk installation is underway. We have noticed that this progress bar is not very smooth, it tends to jump to about the half way point rather quickly and then stay there for a long period of time - eventually it should complete.
Completing the Installation
Eventually the hard disk installation will complete and you will see the following.
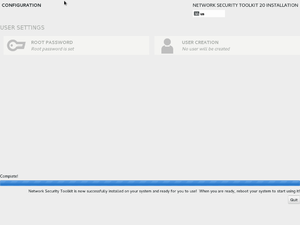
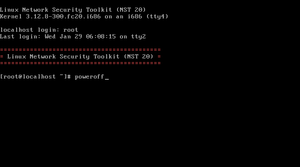
Press the Quit button to exit the installer. Unfortunately, if you launched the graphical installer from the command line or from a direct boot, it may not cleanly terminate. If you find yourself looking at a black screen, you can turn the power off to the system (this seems to work OK). Alternatively, if you would prefer to shut down the system cleanly, press the Control+Alt+F2 key combination to switch to a console login screen.
Log in as the root user and then shutdown the system (shown below using the poweroff command).
Booting After Hard Disk Install
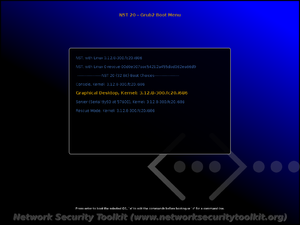
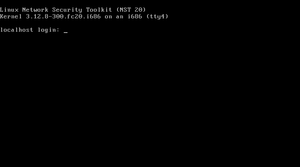
Remove your live boot media and boot your system. If things worked correctly, you should see an initial boot screen similar to what is shown below:
